How to schedule a Python script with Docker and Google Cloud
Suppose you developed a Python script that automates some task.. Perhaps it fetches stock prices, likes random tweets, or emails your mom and asks her how she's doing. The thing is, your script only runs when you command it to!
In this tutorial, I'll show you how to run your Python script on a daily schedule using Docker & Google Cloud.
Motivating Problem
You've been a bit depressed ever since your team lost the big game  . You need someone to cheer you up
  . Problem is, you don't have any friends.. But that's okay. Python is your friend.
You decide to write a program to email yourself a random, positive message every day.
import random

messages = [
    "You're great!",
    "Happiness is a choice.",
    "The refs cheated",
    "You're pretty good at programming",
    "Live, love, laugh",
    "Think positively and positive things will happen."
]

print(random.choice(messages))
Where's the email functionality?
The script above doesn't actually send an email. It just picks a random string from a list and prints it  . We'll add email functionality later. For now, let's focus on getting this thing to run in Google Cloud.
Overview
Here are the steps we'll take to make this thing work.
- Create a Google Cloud project and enable services
- Set up a repository with Google Cloud Artifact Registry
- Containerize your Python script with Docker and run it locally
- Push your Docker image from your local machine to Google Cloud Artifact Registry
- Deploy your image with Google Cloud Run
- Schedule your app to run repeatedly with Google Cloud Scheduler
- Update your Python script
- Push your changes to Google Cloud
1. Create a Google Cloud project and enable services
- Create a Google account if you don't already have one.
- Sign up for Google Cloud if you haven't already.
-
Create a new Google Cloud Project.
Billing Info
You'll need to provide a credit card in order to use Google Cloud. However, this project won't exceed the free usage tier.
-
Enable Google Artifact Registry and Google Cloud Run.
Search for each service in the Google Cloud Console and then click the Enable button.
gloud CLI
You'll also want to install (and familiarize yourself with) gcloud CLI. You can use gcloud to execute Google Cloud commands from your local machine.
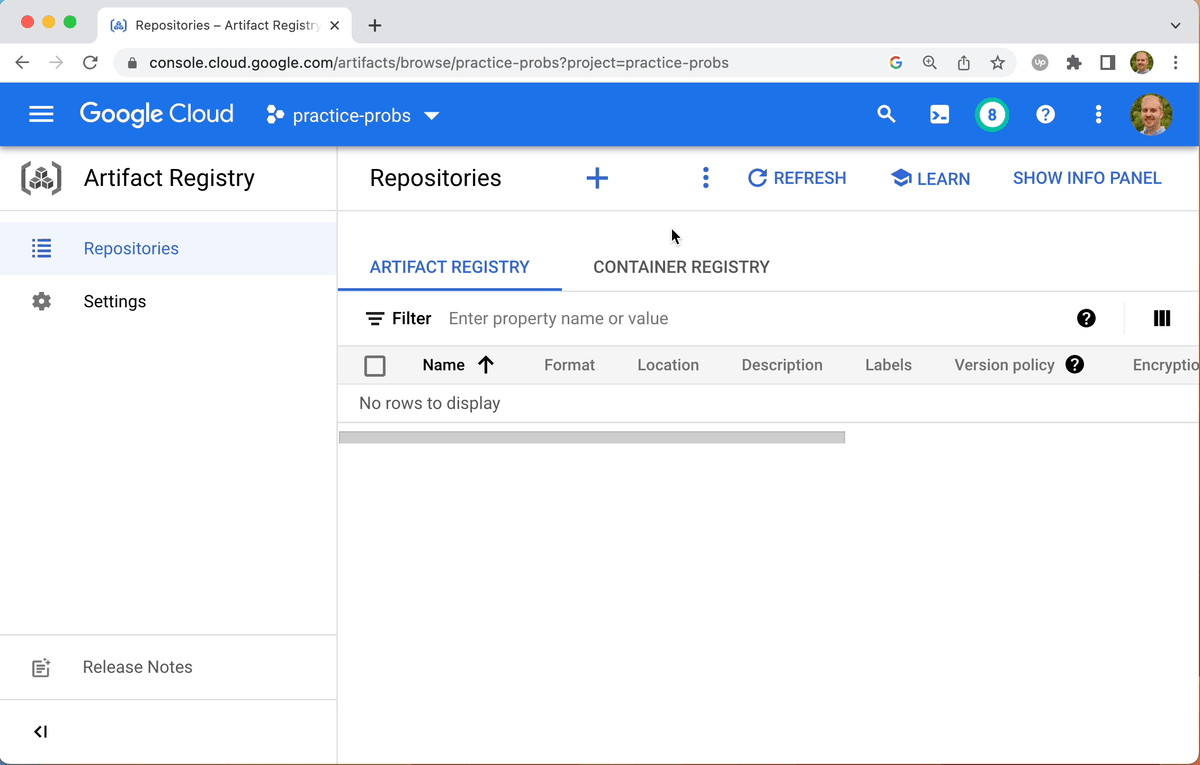
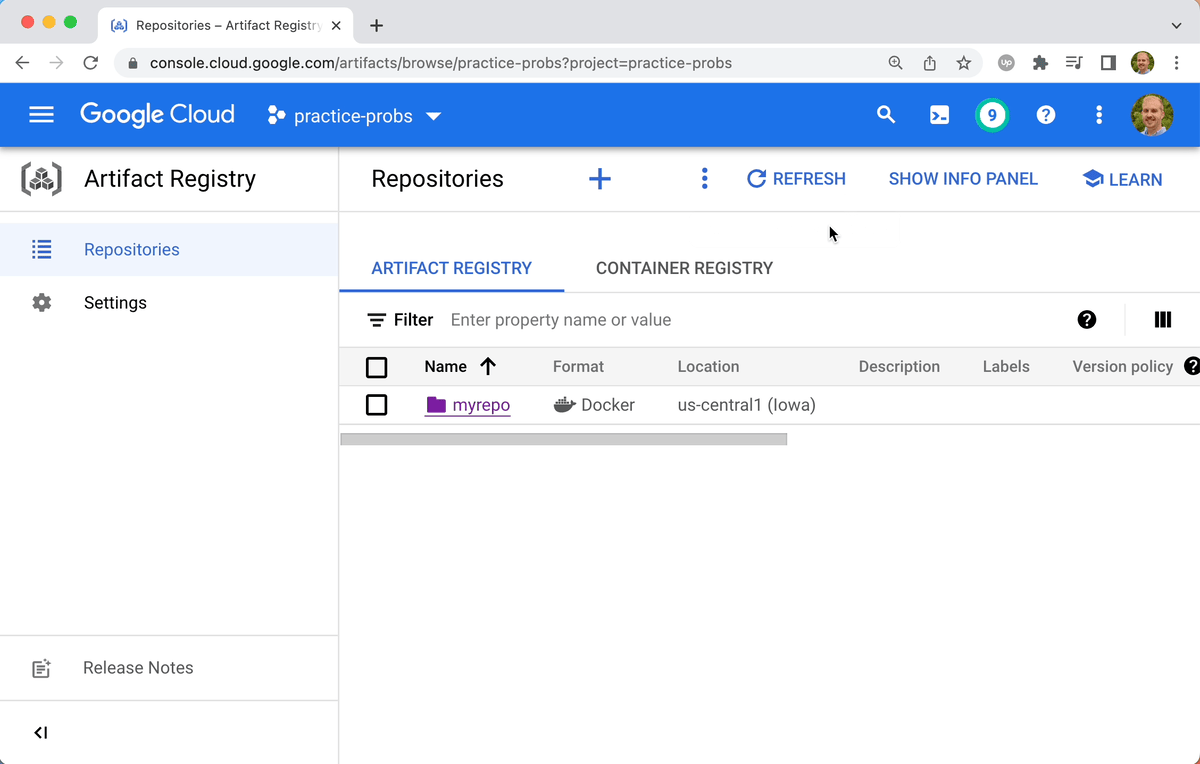
2. Set up a repository with Google Cloud Artifact Registry
You can do this from the Google Cloud Console in your browser, or from your local Terminal using gcloud 
bill@gates:~$ gcloud artifacts repositories create myrepo \
--repository-format=docker \
--location=us-central1 \
--description="Docker repository"
Create request issued for: [myrepo]
Waiting for operation [projects/my-project-id/locations/us-central1/operations/31cb2caf-10d3-4571-8951-47f13421fdb6] to complete...done.
Created repository [myrepo].
Check that it worked by listing your repos.
bill@gates:~$ gcloud artifacts repositories list
Listing items under project my-project-id, across all locations.

ARTIFACT_REGISTRY
REPOSITORY  FORMAT  MODE                 DESCRIPTION  LOCATION     LABELS  ENCRYPTION          CREATE_TIME          UPDATE_TIME          SIZE (MB)
myrepo      DOCKER  STANDARD_REPOSITORY               us-central1          Google-managed key  2022-12-14T12:11:24  2022-12-14T13:11:24  0
See the docs for gcloud artifacts repositories.
Region
If you don't want to use us-central1, you can find a list of google cloud regions here.
3. Containerize your Python script with Docker and run it locally
What's Docker?
Docker is a service that lets you containerize an application so that it'll run exactly the same on another machine as your own. But there's more to it than that.
If you're brand new to Docker, you'll need to install it and get your feet wet using it. Our usage is geared towards beginners, but not absolute beginners.
Project Structure
You'll want to mimick this
positivity/
  .dockerignore
  Dockerfile
  main.py
import random

messages = [
    "You're great!",
    "Happiness is a choice.",
    "The refs cheated",
    "You're pretty good at programming",
    "Live, love, laugh",
    "Think positively and positive things will happen."
]

print(random.choice(messages))
# Start with python 3.11 image
FROM python:3.11-slim

# Copy the current directory into /app on the image
WORKDIR /app
COPY . /app

# Entry point command
CMD ["python", "main.py"]
**/__pycache__
**/.venv
**/.classpath
**/.dockerignore
**/.env
**/.git
**/.gitignore
**/.project
**/.settings
**/.toolstarget
**/.vs
**/.vscode
**/*.*proj.user
**/*.dbmdl
**/*.jfm
**/bin
**/charts
**/docker-compose*
**/compose*
**/Dockerfile*
**/node_modules
**/npm-debug.log
**/obj
**/secrets.dev.yaml
**/values.dev.yaml
LICENSE
README.md
Our Dockerfile starts by specifying Python 3.11 (slim) as the parent image. Then it copies the stuff in our working directory into /app on the image except for the items listed in .dockerignore. Finally, it sets the entry point as the command python main.py.
How do I know which Python image to start with?
You can find a list of the official Python images here.
What does -slim mean?
*-slim images are "stripped down" variants that only contain the minimal packages needed to run python.
Build the image
Build your Docker image with docker build as shown below. Run this command from your project's root directory.
docker image build \
--tag us-central1-docker.pkg.dev/my-project-id/myrepo/myimage:tag1 \
.
The tag configures the docker push command to push the image to a specific location. It can be broken down as follows:
us-central1-docker.pkg.dev/my-project-id/myrepo/myimage:tag1
# YOUR repository location
us-central1-docker.pkg.dev/my-project-id/myrepo/myimage:tag1
# hostname for all Docker repositories. (No need to change)
us-central1-docker.pkg.dev/my-project-id/myrepo/myimage:tag1
# YOUR project id
us-central1-docker.pkg.dev/my-project-id/myrepo/myimage:tag1
# YOUR repo name (set in step 2 above^^)
us-central1-docker.pkg.dev/my-project-id/myrepo/myimage:tag1
# YOUR image name as it will be named in the repository
us-central1-docker.pkg.dev/my-project-id/myrepo/myimage:tag1
# YOUR tag name to identify the version of this image
M1 Mac users
If you're on an M1 Mac, you need to specify --platform linux/amd64 in your docker build command like this
docker image build \
--platform linux/amd64 \
--tag us-central1-docker.pkg.dev/my-project-id/myrepo/myimage:tag1 \
.
Run the image locally
Run the image using docker run in interactive mode (-i). You should get a reassuring message 
bill@gates:~$ docker run --rm -it  us-central1-docker.pkg.dev/my-project-id/myrepo/myimage:tag1
Happiness is a choice.
4. Push your Docker image from your local machine to Google Cloud Artifact Registry
We've confirmed our Docker image works. Now we need to push it to our Cloud Artifact repository. Do that with docker push.
docker push us-central1-docker.pkg.dev/my-project-id/myrepo/myimage:tag1
Permission denied error
If you get an error like
denied: Permission "artifactregistry.repositories.uploadArtifacts" denied on resource "projects/myproject/locations/us-central1/repositories/myrepo" (or it may not exist)
you may need to run gcloud auth login
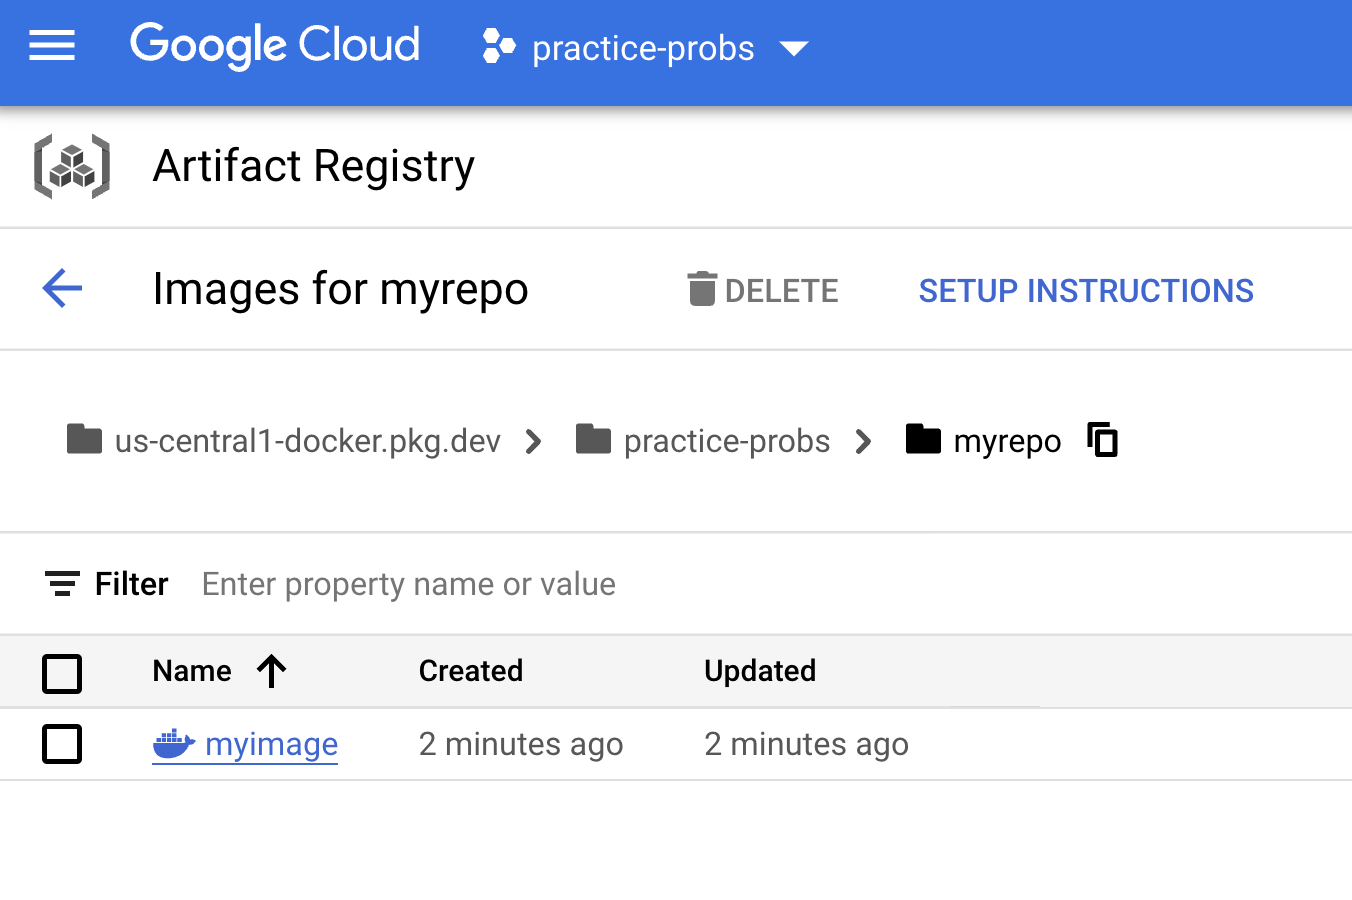
You should be able to see your image in the Artifact Registry dashboard.
5. Deploy your image with Google Cloud Run
Now let's deploy our image with a cloud run job.
Cloud Run Job vs Cloud Run Service
It's important to recognize the distinction between a cloud run job and cloud run service. We want to set up a cloud run job. A cloud run service would require us to integrate a Flask-like service that listens for incoming HTTP requests. Cloud run jobs do not.
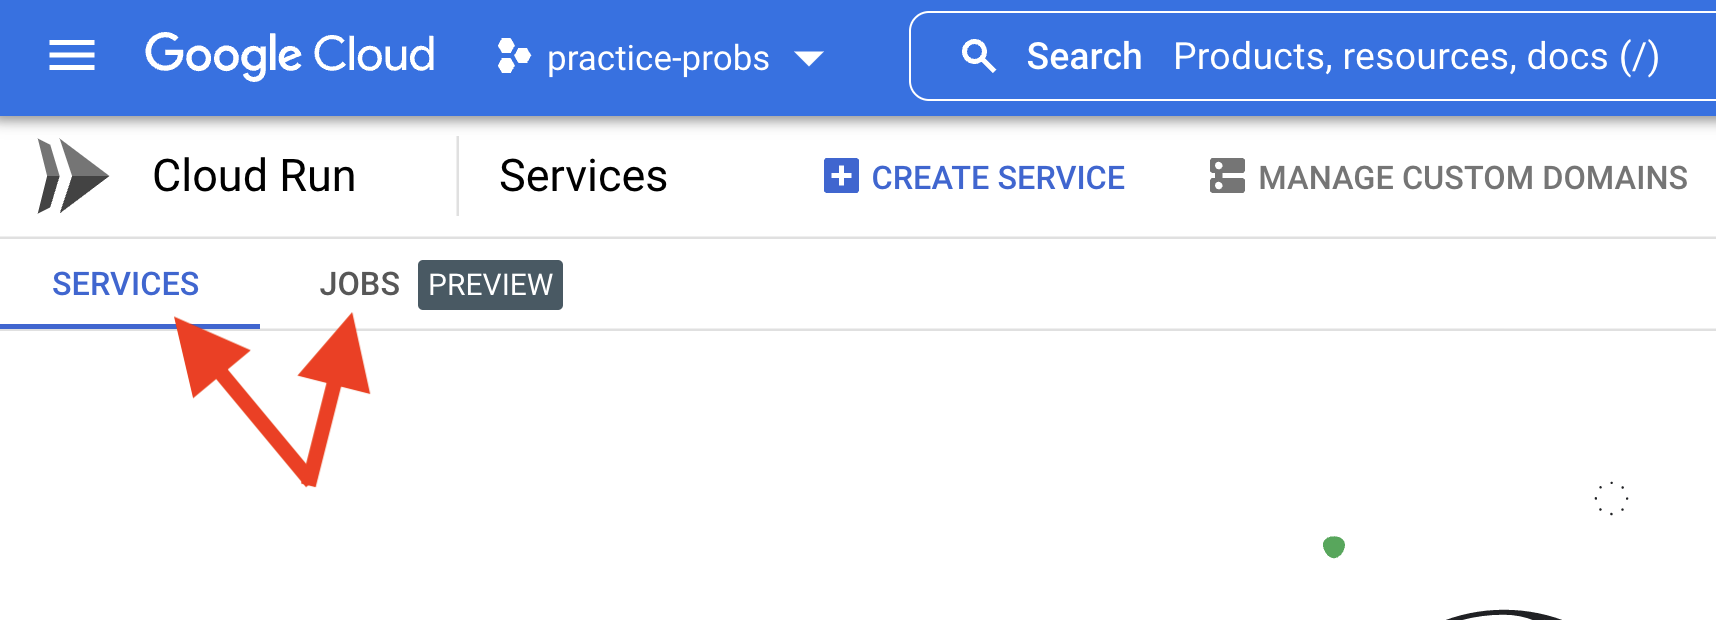
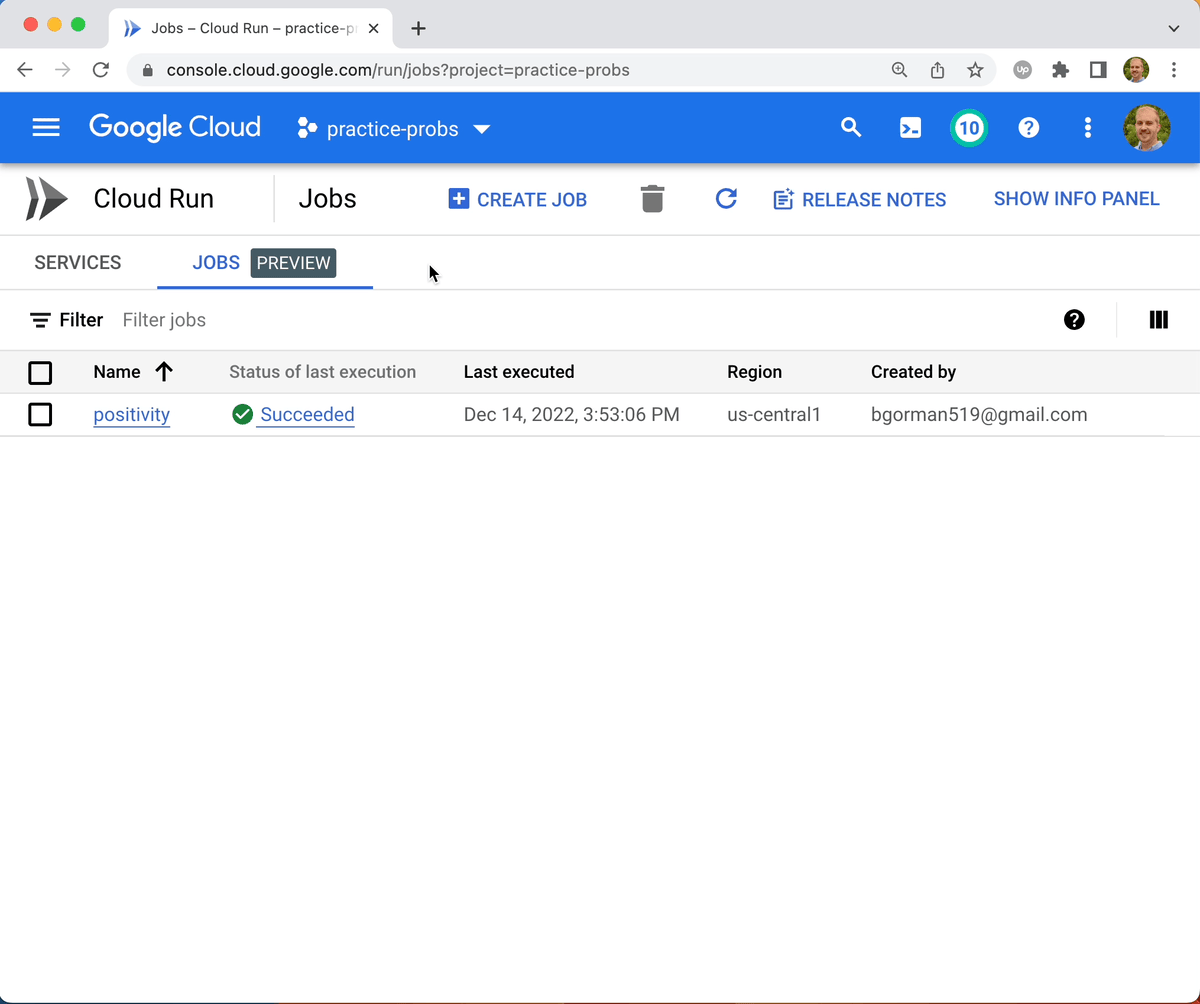
- Head over to the Cloud Run dashboard
- Click on the JOBS tab
- Click CREATE JOB
- Select the image we just uploaded to Artifact Registry
- Fill out the remaining fields as you see fit, or leave the defaults in place
- Check the box that says Execute job immediately
gcloud beta run jobs create positivity \
--image us-central1-docker.pkg.dev/my-project-id/myrepo/myimage:tag1 \
--region us-central1 \
--execute-now
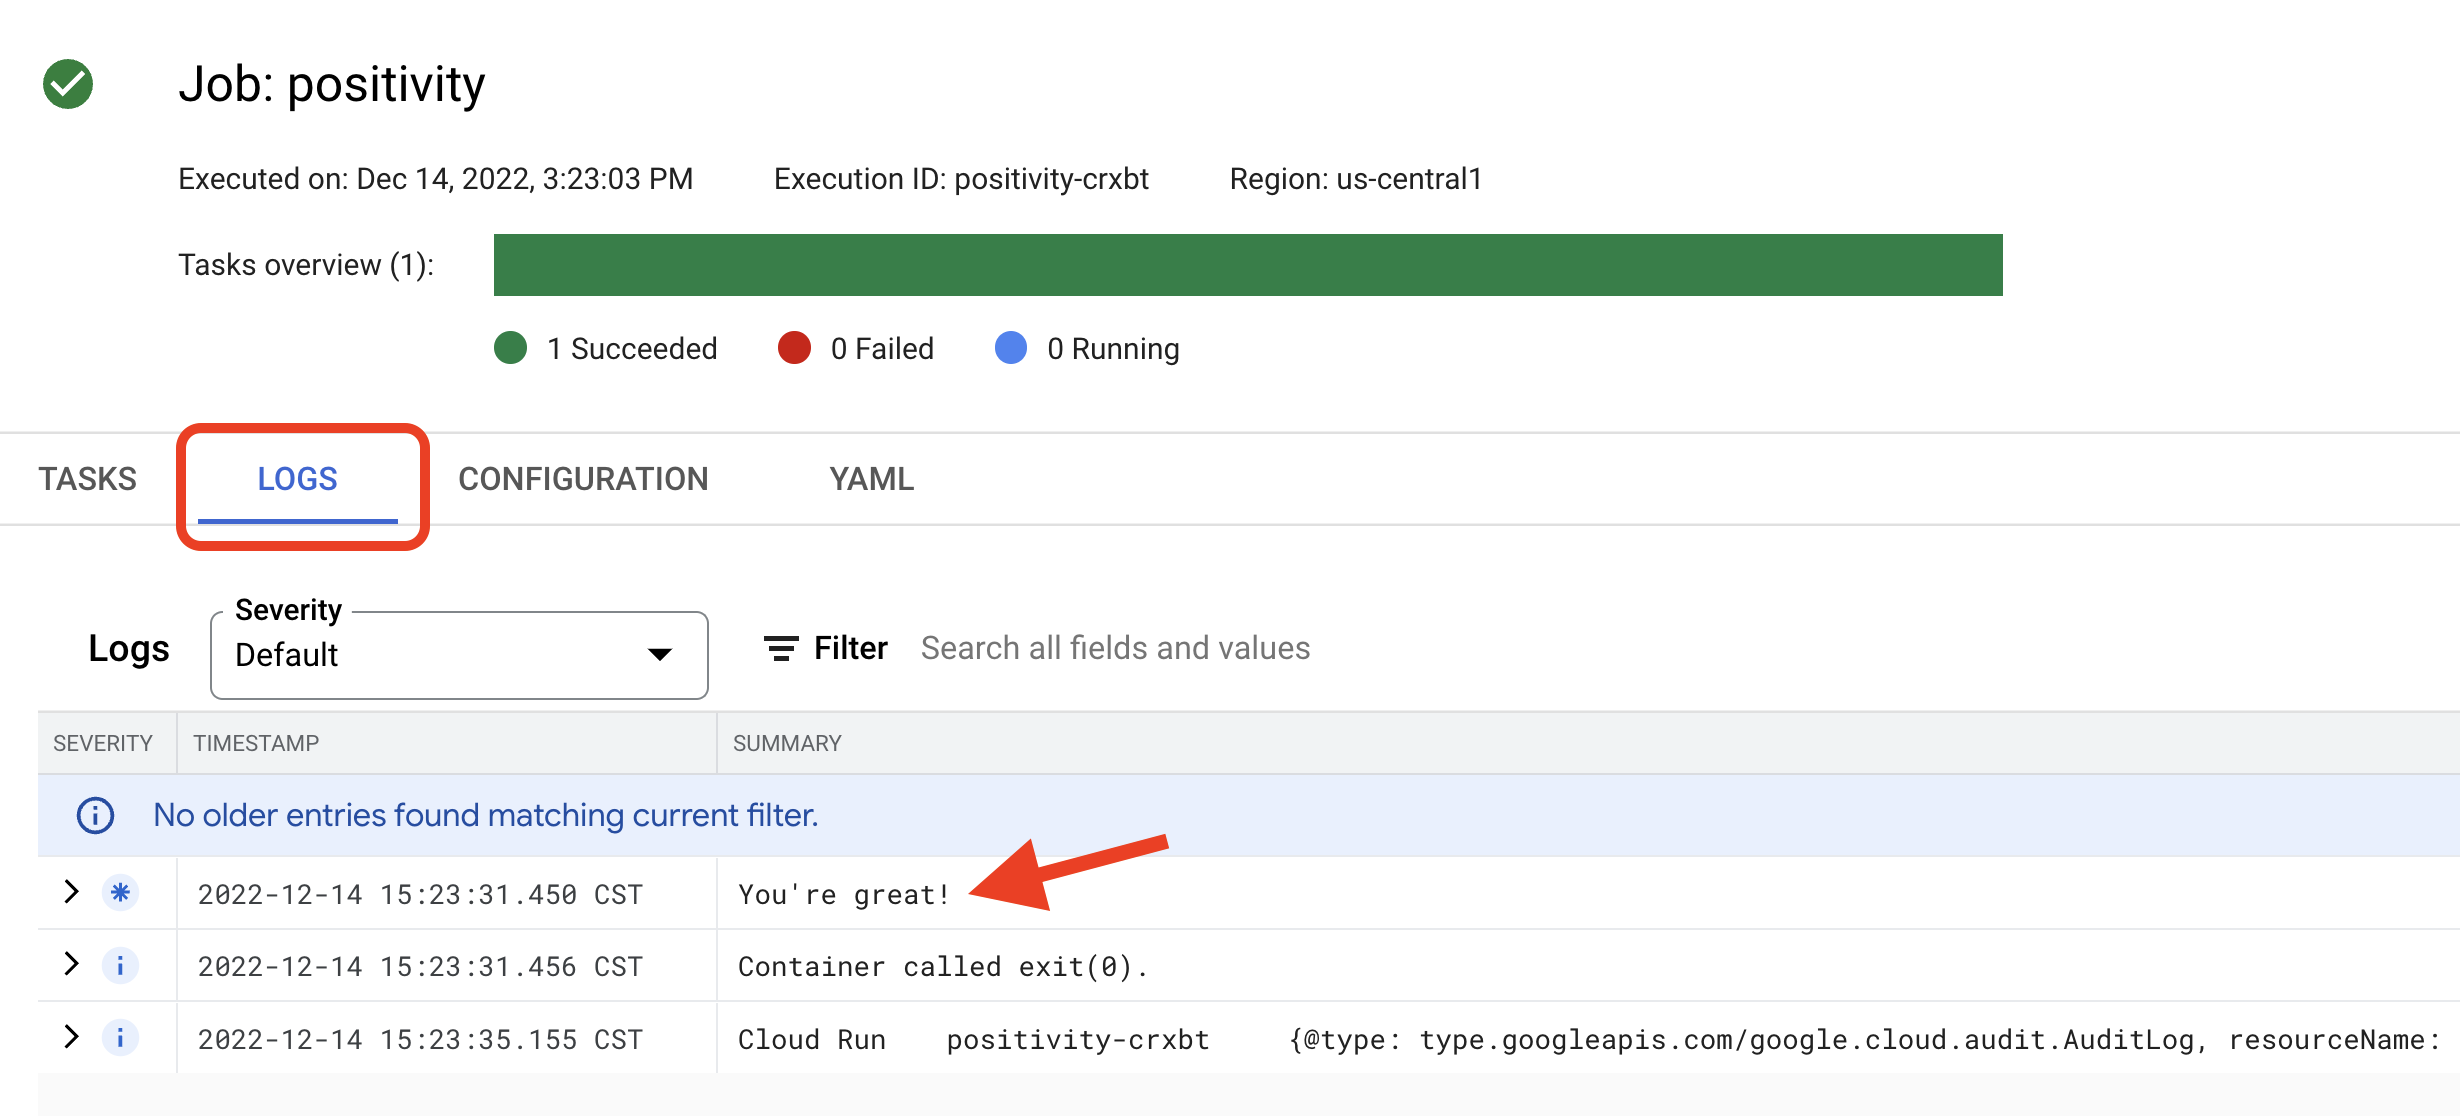
Inspecting the logs, we see our positive message 
6. Schedule your app to run repeatedly with Google Cloud Scheduler
Here we use the Cloud Console to schedule our job to run every 10 minutes.
What does */10 * * * * mean?
That's the cron schedule expression for "every 10 minutes". (See this helpful syntax guide.)
Default Service Account
We used the default service account to create the scheduled job. Don't do this. Use a dedicated service account with only the minimum permissions to do what you need.
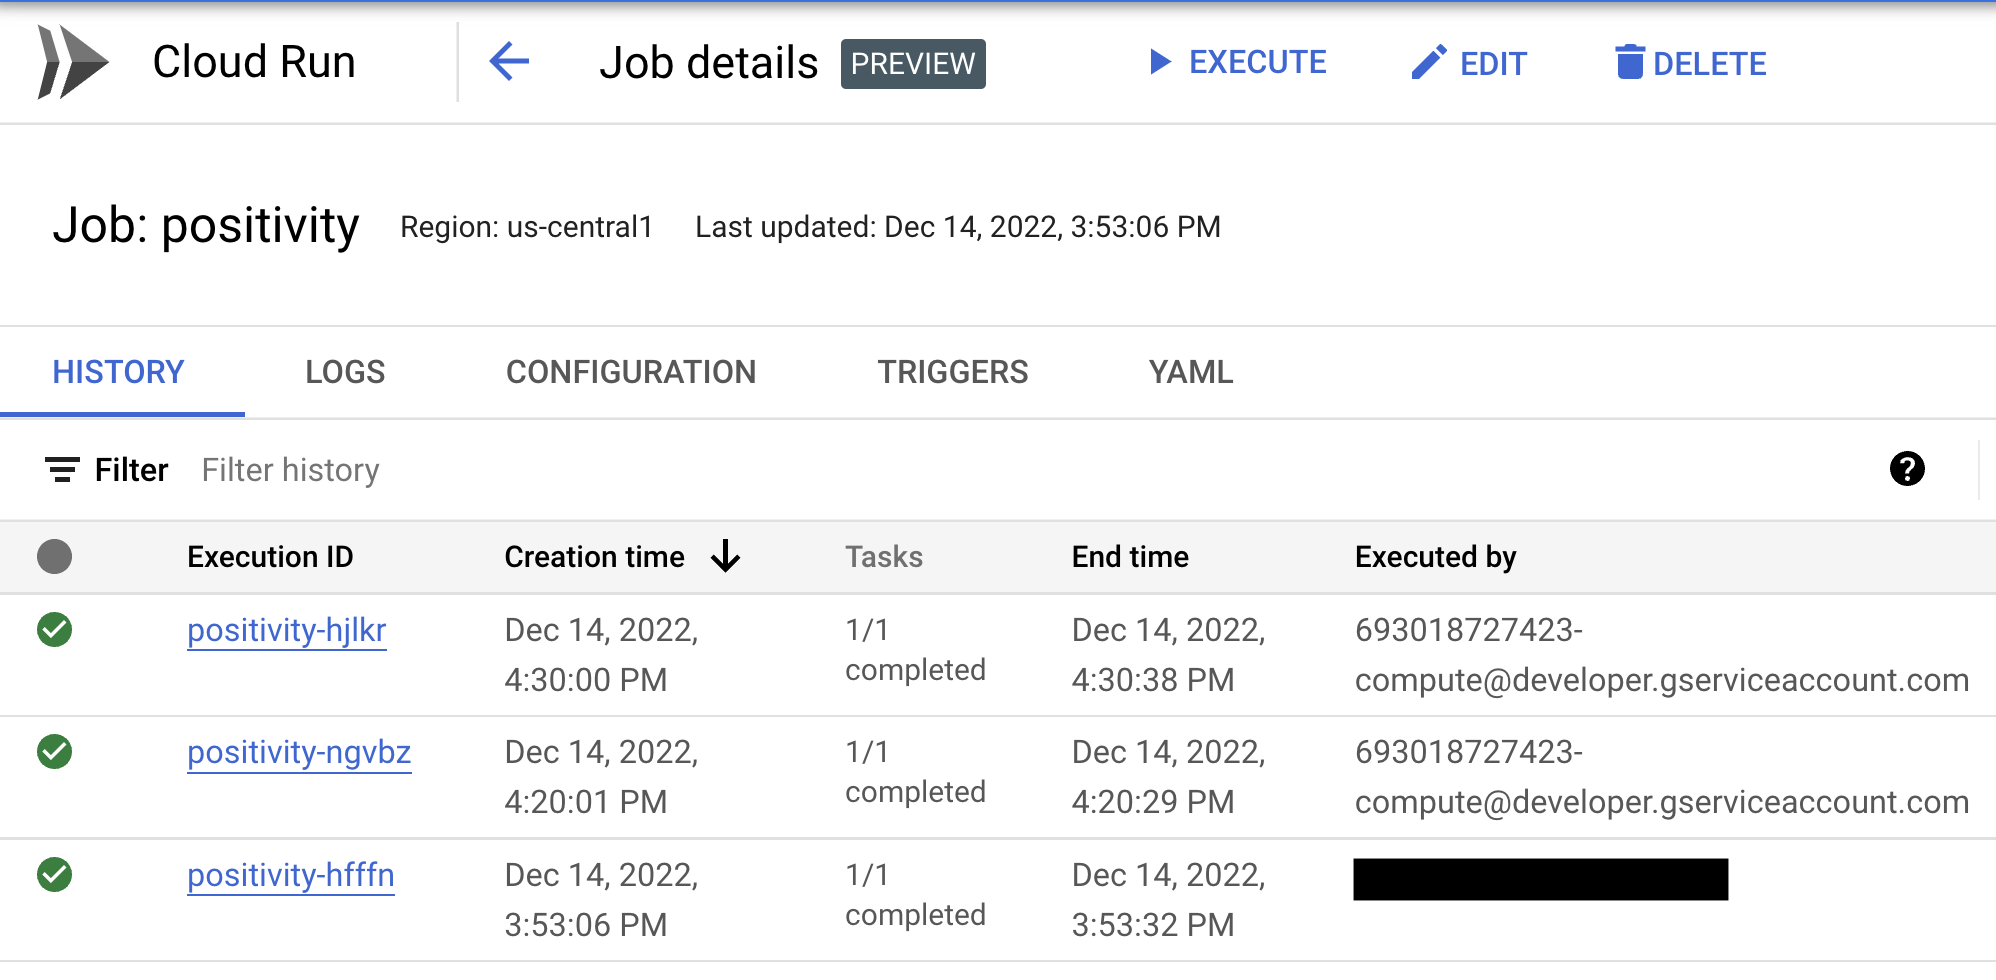
Verify that your job is executing succesfully (after 10 minutes or so).
7. Update your Python script
We need to update our Python script to actually send an email. We'll be using gmail. There are a few steps to get this done.
- Go to myaccount.google.com > Security. Make sure 2-Step Verification is turned on.
-
Go to myaccount.google.com > Security > App Passwords > Select App > Other. Enter the name
Python. You should get a 16-character password. Jot it down somewhere safe.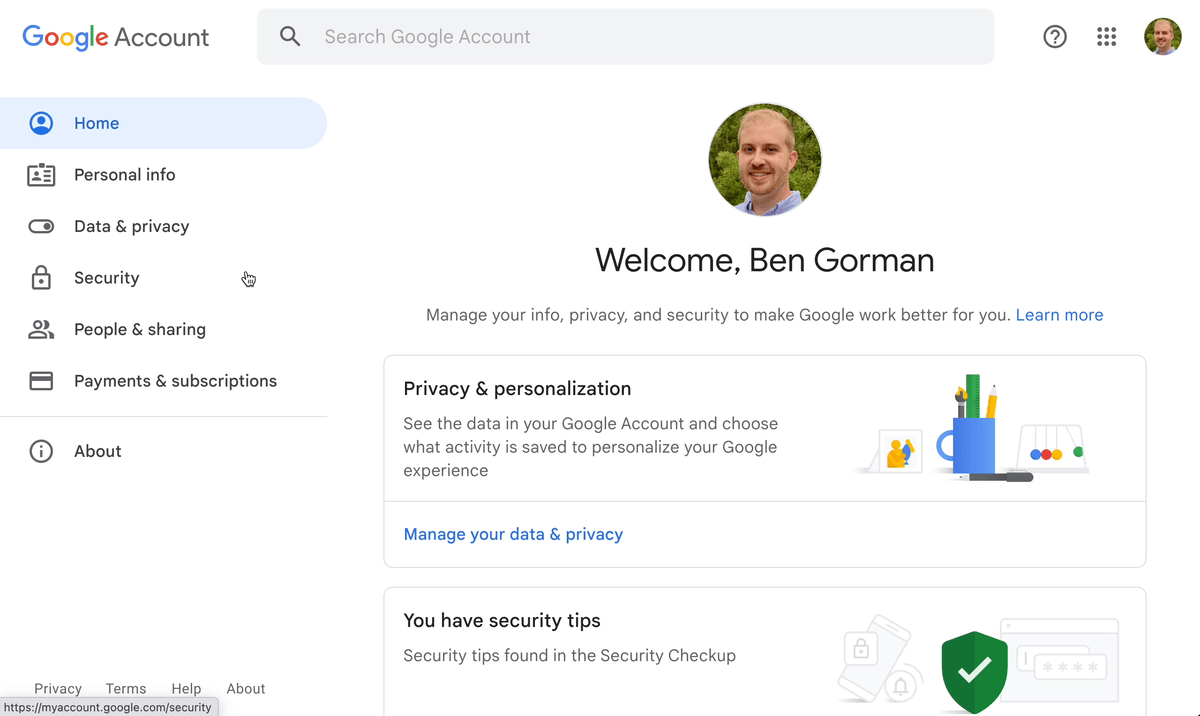
-
Update
main.pyas follows:main.pyimport os from email.message import EmailMessage import ssl import smtplib import numpy as np # email stuff sender = 'your-email-address@gmail.com' password = os.environ.get('EMAIL_PASSWORD') # (1)! receiver = sender # Define list of possible messages messages = [ "You're great!", "Happiness is a choice.", "The refs cheated", "You're pretty good at programming", "Live, love, laugh", "Think positively and positive things will happen." ] # Set the subject and body subject = 'Something you need to know' body = np.random.choice(messages) # Create an EmailMessage object msg = EmailMessage() msg['Subject'] = subject msg['From'] = sender msg['To'] = receiver msg.set_content(body) # Send it context = ssl.create_default_context() with smtplib.SMTP_SSL('smtp.gmail.com', 465, context=context) as smtp: smtp.login(sender, password) smtp.sendmail(sender, receiver, msg.as_string())- We could hard-code our password into
main.py, but that's dangerous / bad practice! Instead, we'll put our password into an environment variable namedEMAIL_PASSWORDand retrieve it withos.environ.get('EMAIL_PASSWORD').
- We could hard-code our password into
-
Install
numpy.pip install numpyWhy are we using
numpy?In the code, we only use
numpyto pick a random message.body = np.random.choice(messages)We could just use the
randommodule (as we did earlier), but incorporatingnumpyforces us to use a 3rd party package in our project - something that will inevitably come up in real-world scenarios.Note that
os,email,ssl, andsmtplibare all part of the standard library, so you don't need to install them. -
Create a
requirements.txtfile.pip freeze > requirements.txt # (1)!-
pip freezelists the packages you have installed.
> requirements.txtdirects the output ofpip freezeinto a file namedrequirements.txt.In other words, this is a handy way to make a
requirements.txtfile.
requirements.txtnumpy==1.23.5 Your version might differ. (That's okay.)
 -
Update the Docker image
First we need to update Dockerfile to install Python packages as specified by requirements.txt.
# Start with python 3.11 image
FROM python:3.11-slim

# Install pip requirements
COPY requirements.txt .
RUN python -m pip install -r requirements.txt

# Copy the current directory into /app on the image
WORKDIR /app
COPY . /app

# Entry point command
CMD ["python", "main.py"]
Next, we create a new image with the tag tag2.
docker image build \
--tag us-central1-docker.pkg.dev/my-project-id/myrepo/myimage:tag2 \
.
M1 Mac users
If you're on an M1 Mac, you need to specify --platform linux/amd64 in your docker build command like this
docker image build \
--platform linux/amd64 \
--tag us-central1-docker.pkg.dev/my-project-id/myrepo/myimage:tag2 \
.
Run the image locally
When we run this image, we need to include the environment variable EMAIL_PASSWORD. (The value you provide for EMAIL_PASSWORD should be the value you were given in step 7.2 above.)
docker run \
-e EMAIL_PASSWORD='abcxyz' \
--rm -it us-central1-docker.pkg.dev/my-project-id/myrepo/myimage:tag2
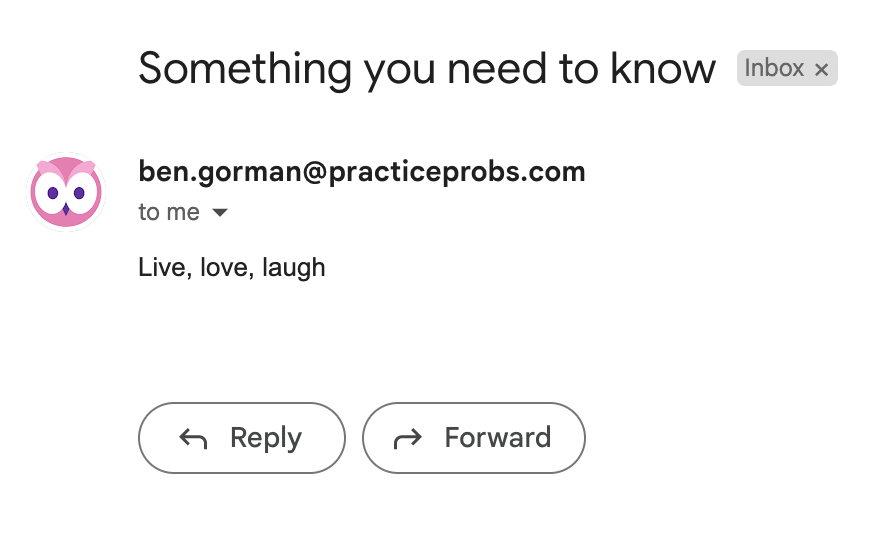
If every goes smoothly, you should receive an email with encouraging words 
8. Push your changes to Google Cloud
docker push us-central1-docker.pkg.dev/my-project-id/myrepo/myimage:tag2
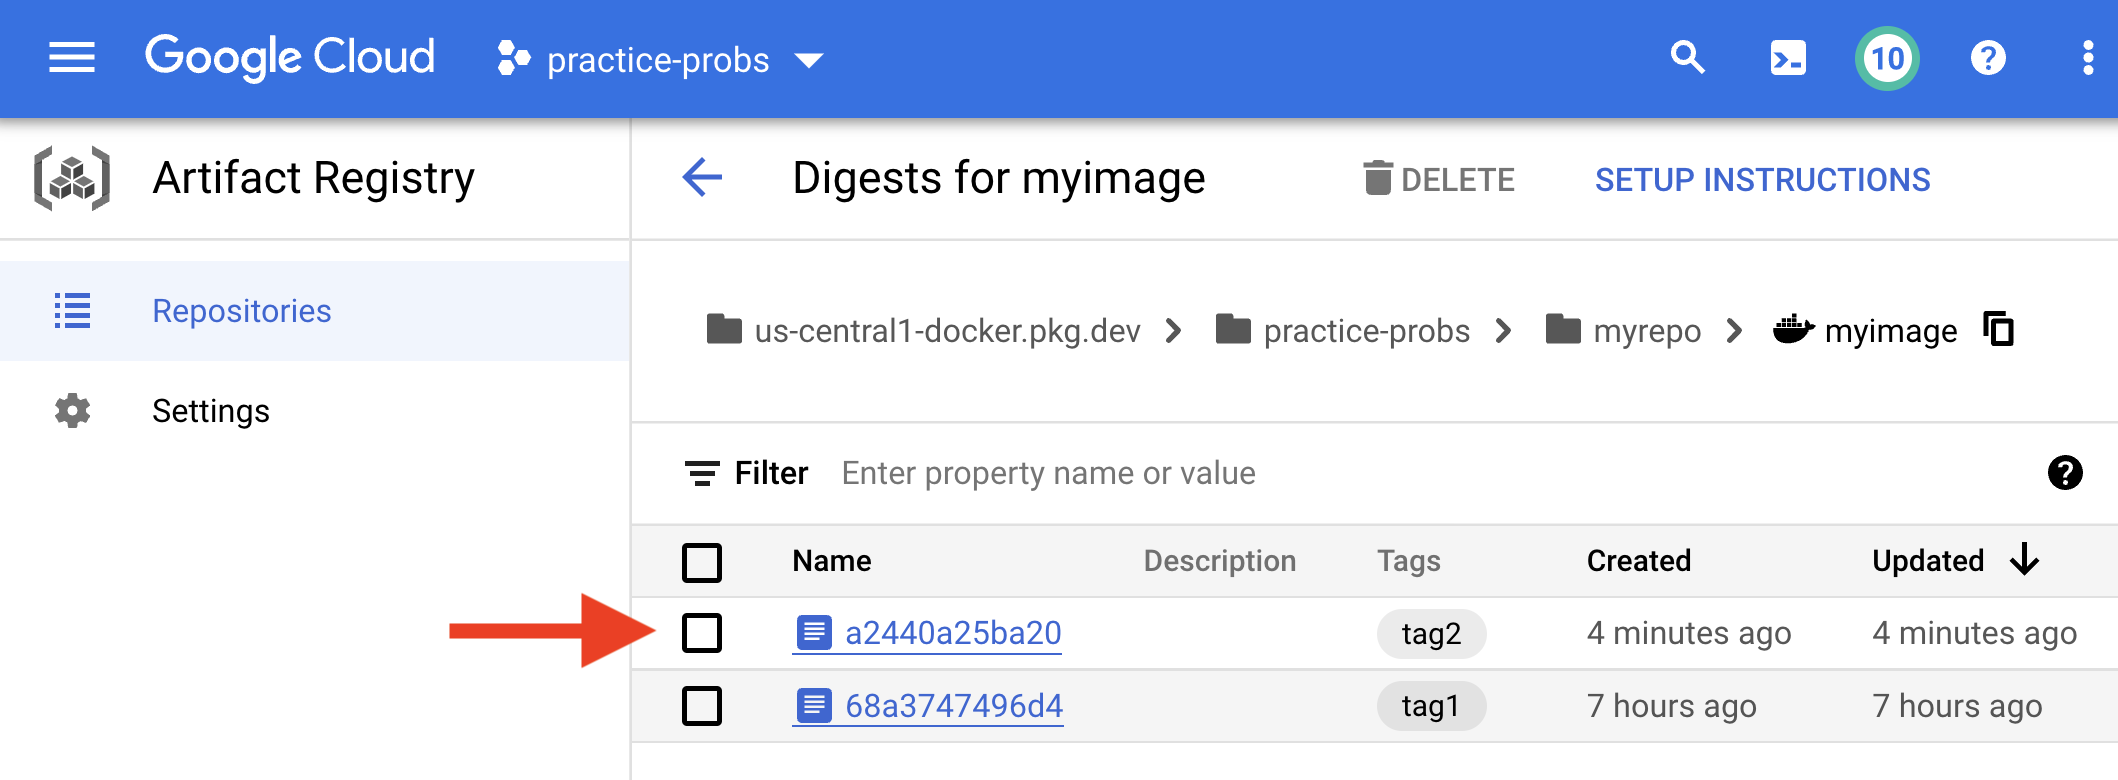
Our new image was successfully pushed to Artifact Registry, but our cloud run job is still running the tag1 image. We'll need to manually update the job to build the tag2 image.
- Find your job in the Cloud Run dashboard
- Click Edit
- Update the Container Image URL to point at the new image you just pushed to Artifact Registry
- Add the environment variable
EMAIL_PASSWORDwith your password - Click Update
Use the gcloud beta run jobs update command to update the job.
gcloud beta run jobs update positivity \
--image IMAGE_URL \
--update-env-vars EMAIL_PASSWORD=VALUE1
--execute-now
Who needs a therapist when you have Python and Google Cloud, amiright 